Ewok Attack Glider Box Color Key: What we have here is the color key used when the piece was going to press. Little was known about this piece until Jeff Correll, one of the editors from 12back.com, diligenty researched and dug up some information. A color key is a contact proof made on acetate sheets from the original film. Each of the layers represents one of the layers in the 4 color process. A white sheet is used as the base, then the first layer is taped down. The next layer then gets lined up with the registration marks and taped down. This is actually one of the least accurate ways to test color proofing because the color is being viewed as dyes on plastic rather than pigments on paper. Another use for color keys, if not the main use, was for the press-man to identify which plate was for which color. This could be accomplished by comparing the plates to the color keys; otherwise, this could lead to guesswork resulting in the box being printed in incorrect colors
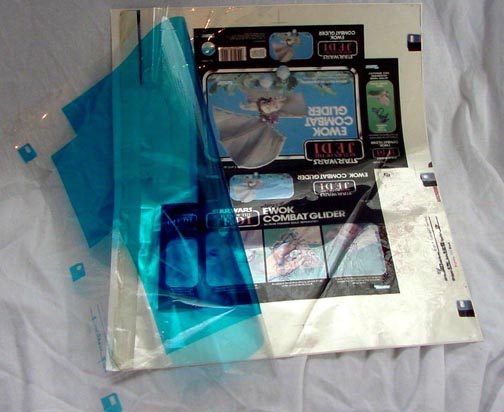
The first blue separation is for a gloss varnish that would be applied after
the inks were printed. Notice how it covers the entire image area.
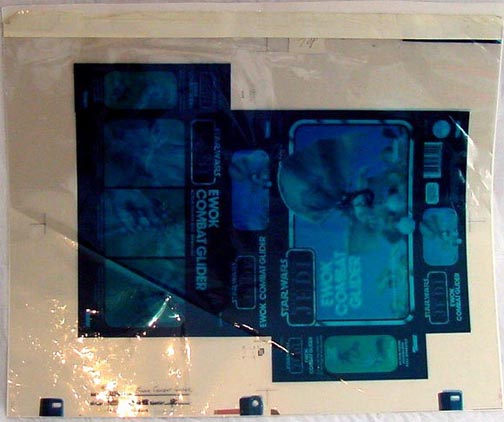
The next one is the black (K) separation.
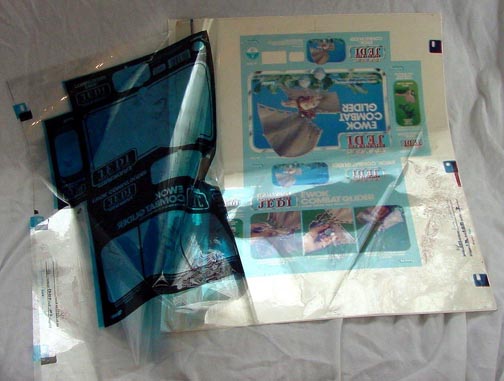
Then the cyan (C) separation. Also, note that they put some cyan ink down in the main black area of the box to help darken the black ink. This is done to help make the black look very rich.
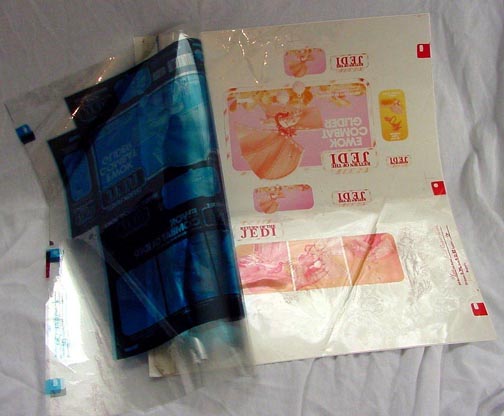
Then the magenta (M) separation.
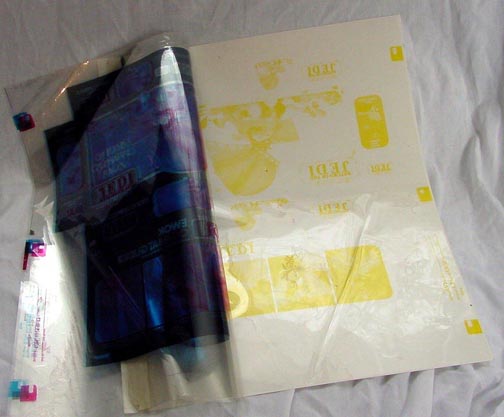
Showing the yellow (Y) last.

Finally, we have a shot of the series of Ewok Combat Glider pieces that Zac has assembled. These pieces include examples of several stages in the process used to create the vehicle. Shown are some of the original pieces of photoart for the back of the box, a color key, a proof sheet, various box flat samples and proofs, an Engineering Pilot, a production boxed glider, and included in the series, but not pictured, is a first shot.
Description: John J. Alvarez and Jeff Correll